How to setup connections between the local machine and a remote server?
Click Connection from the main menubar of the CINEMAS screen. See Fig. 126
Manage SSH connections leads to Connections workspace, where remote connections can be set up.
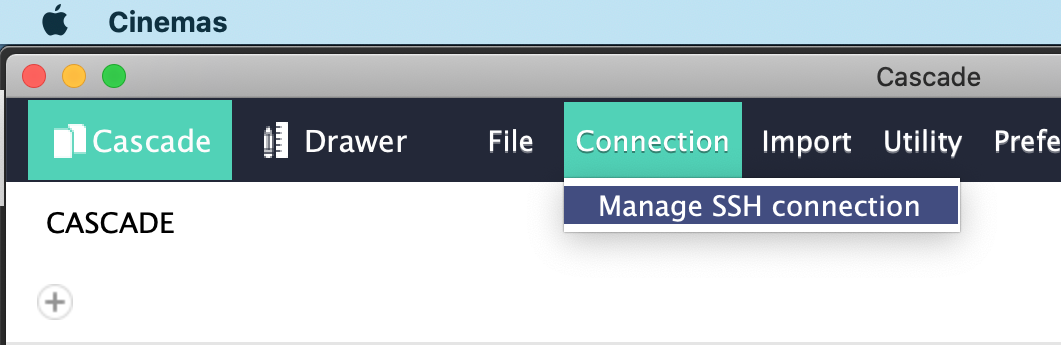
Fig. 126 Connections:.
For the first time set-up, or starting over Connections workspace screen appears as shown in Fig. 127.
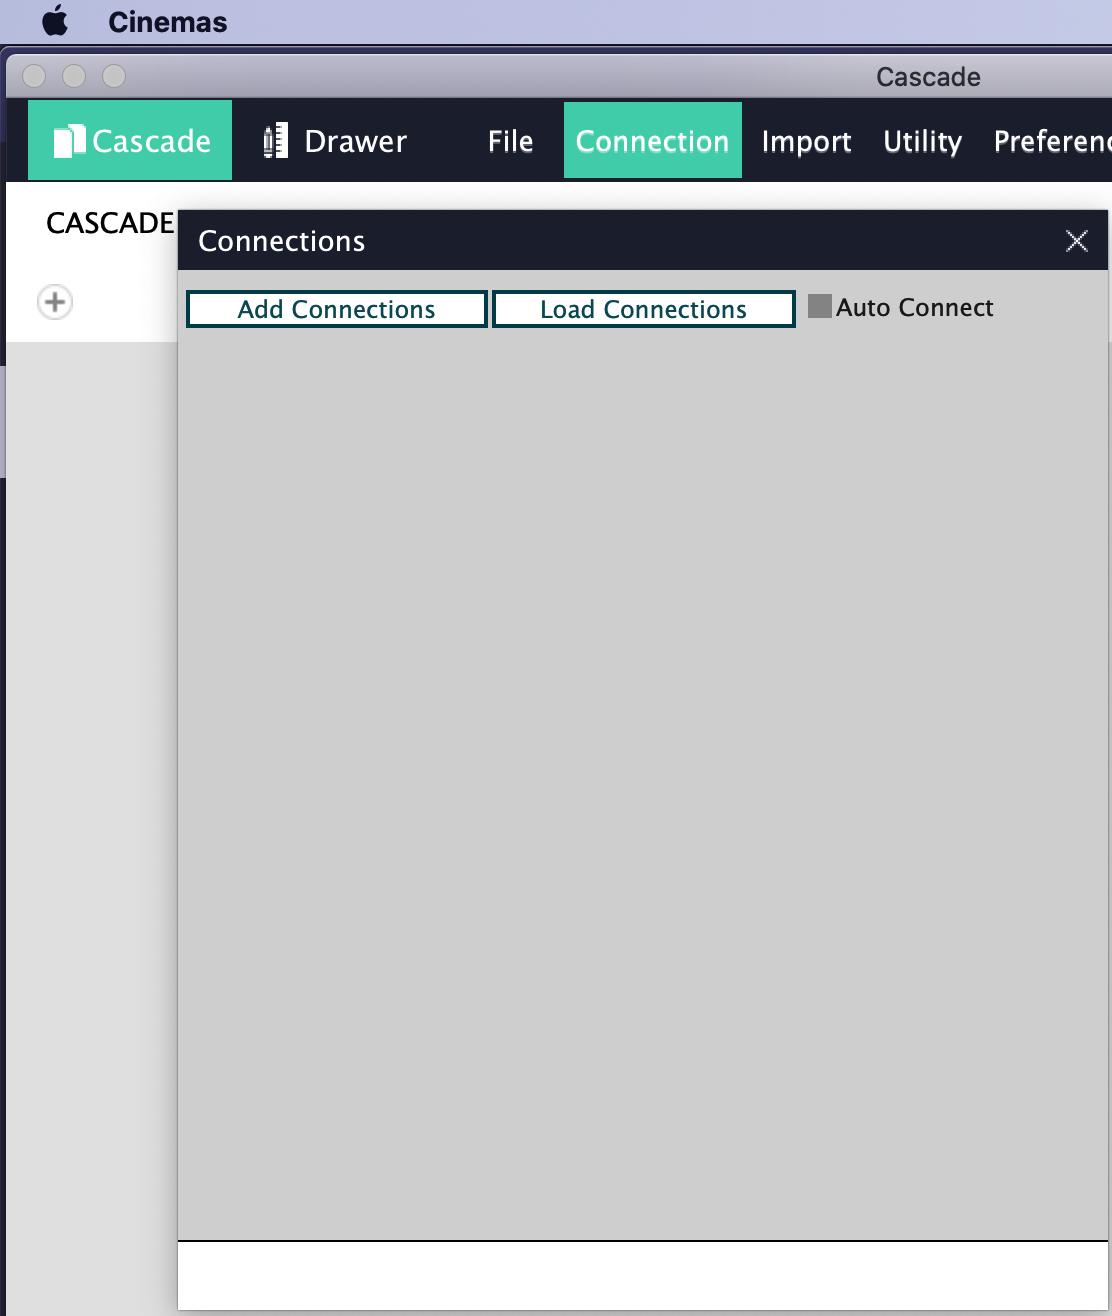
Fig. 127 Connections:.
The button Add connections adds a new connection with a choice of job-scheduler.
Connection$i$ is the default connec-name. i is the number of connection.
Set as default can be marked for a connection, to which automatic-modules will submit calculations if there are more than one connections established.
The current version of CINEMAS supports TORQUE, MOAB, OTP-type and localhost(VASP installed without any scheduler).
Along with the choice of scheduler, a connection to remote-server can be established by entering IP address, and user credentials by clicking
 button.
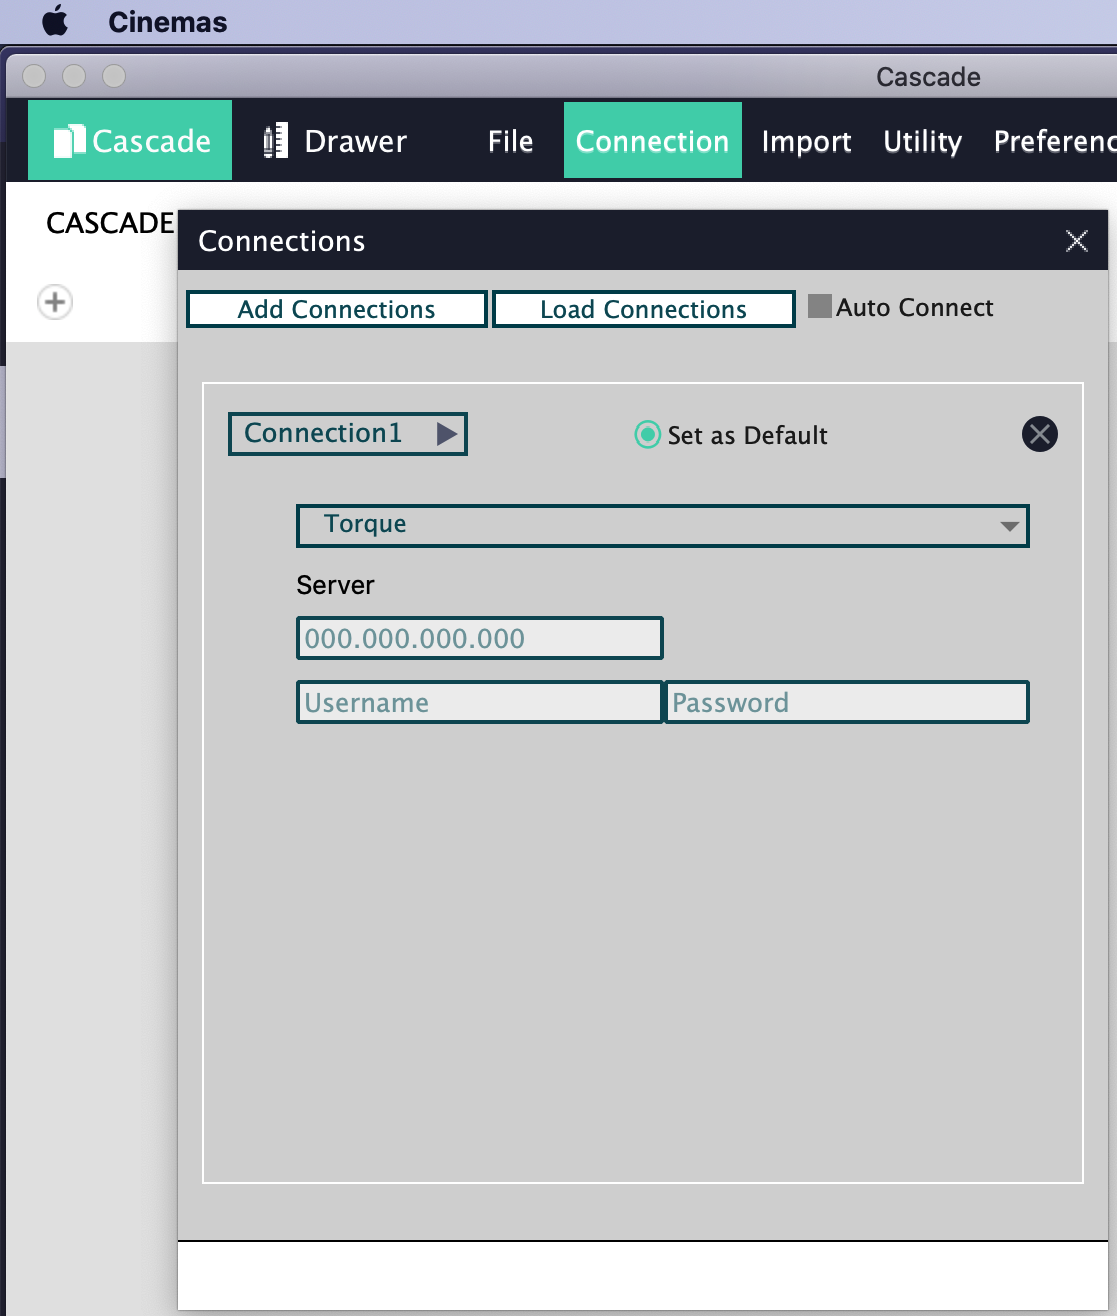
Fig. 128 Connections:.
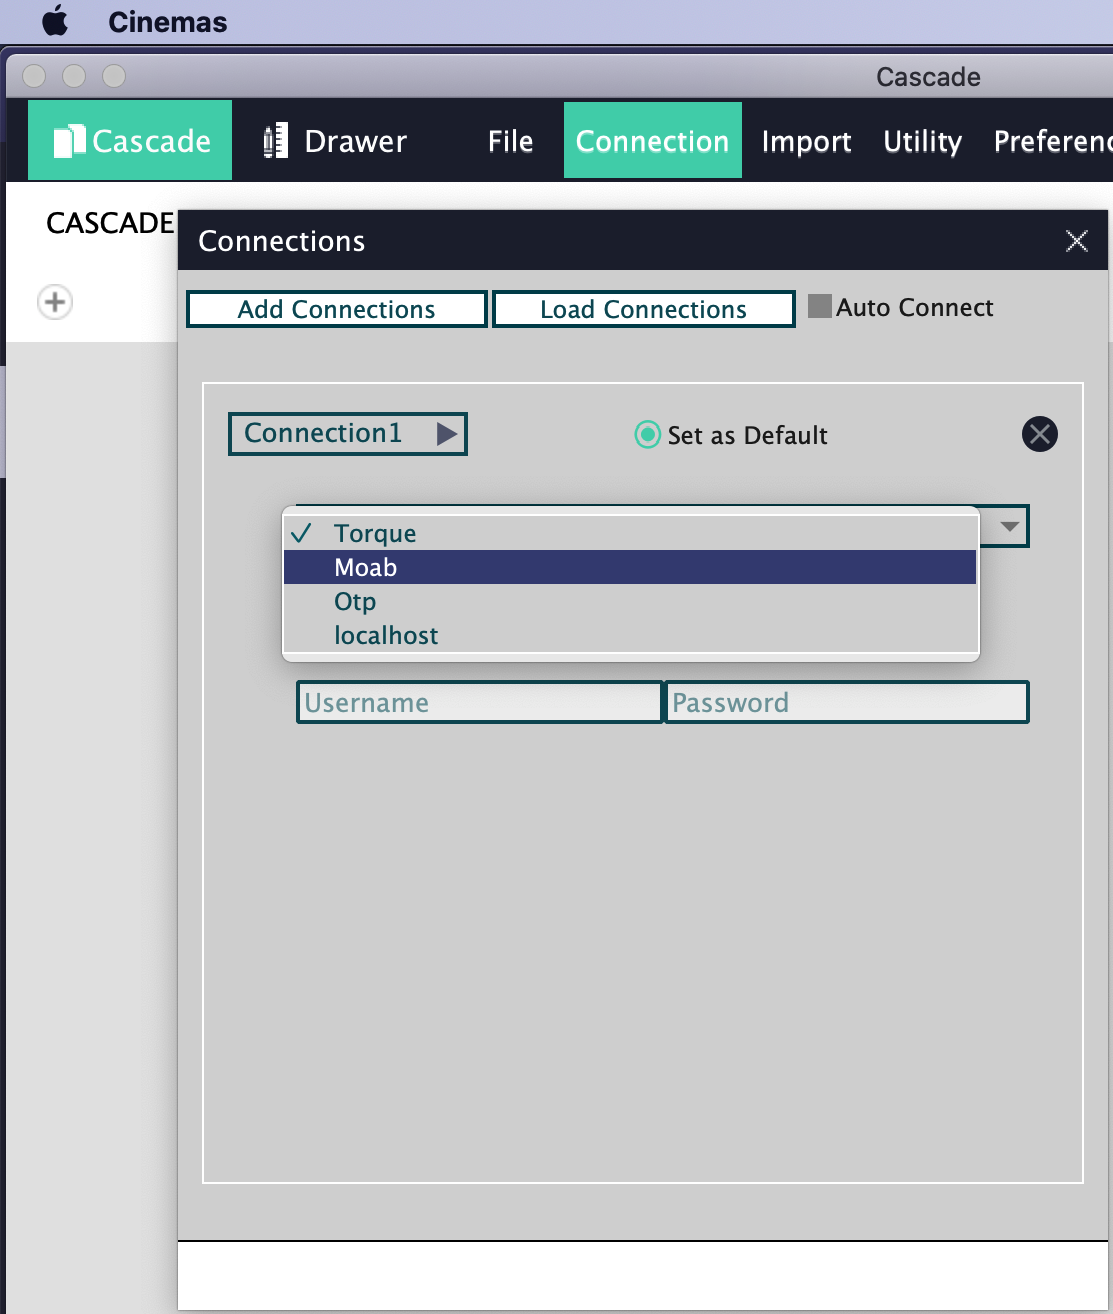
Fig. 129 Connections:.

Fig. 130 Connections:.
Once the connection is established(Fig. 131), remote-server-location, submit-command, and submit-script(if any) has to be defined.
Remote-server location: User has to define remote-server-location. e.g. /home/username/CINEMAS/ or similar.
Submit command: User has to define command along with arguments if any. E.g. qsub/msub/’mpirun -np 4 vasp > vasp.out &’.
Submit script: If it is needed, browse the script to submit a calculation on the remote-server.
Save: The Save button can be used to save a connection with user-credentials, command, submit-script path.
Load connections: This button loads a previously saved connections.
Auto connect: This check-box can be ticked, if CINEMAS should load all the connections saved, right after it launches.
Fig. 132 shows a case of established connection, will all required details filled in.
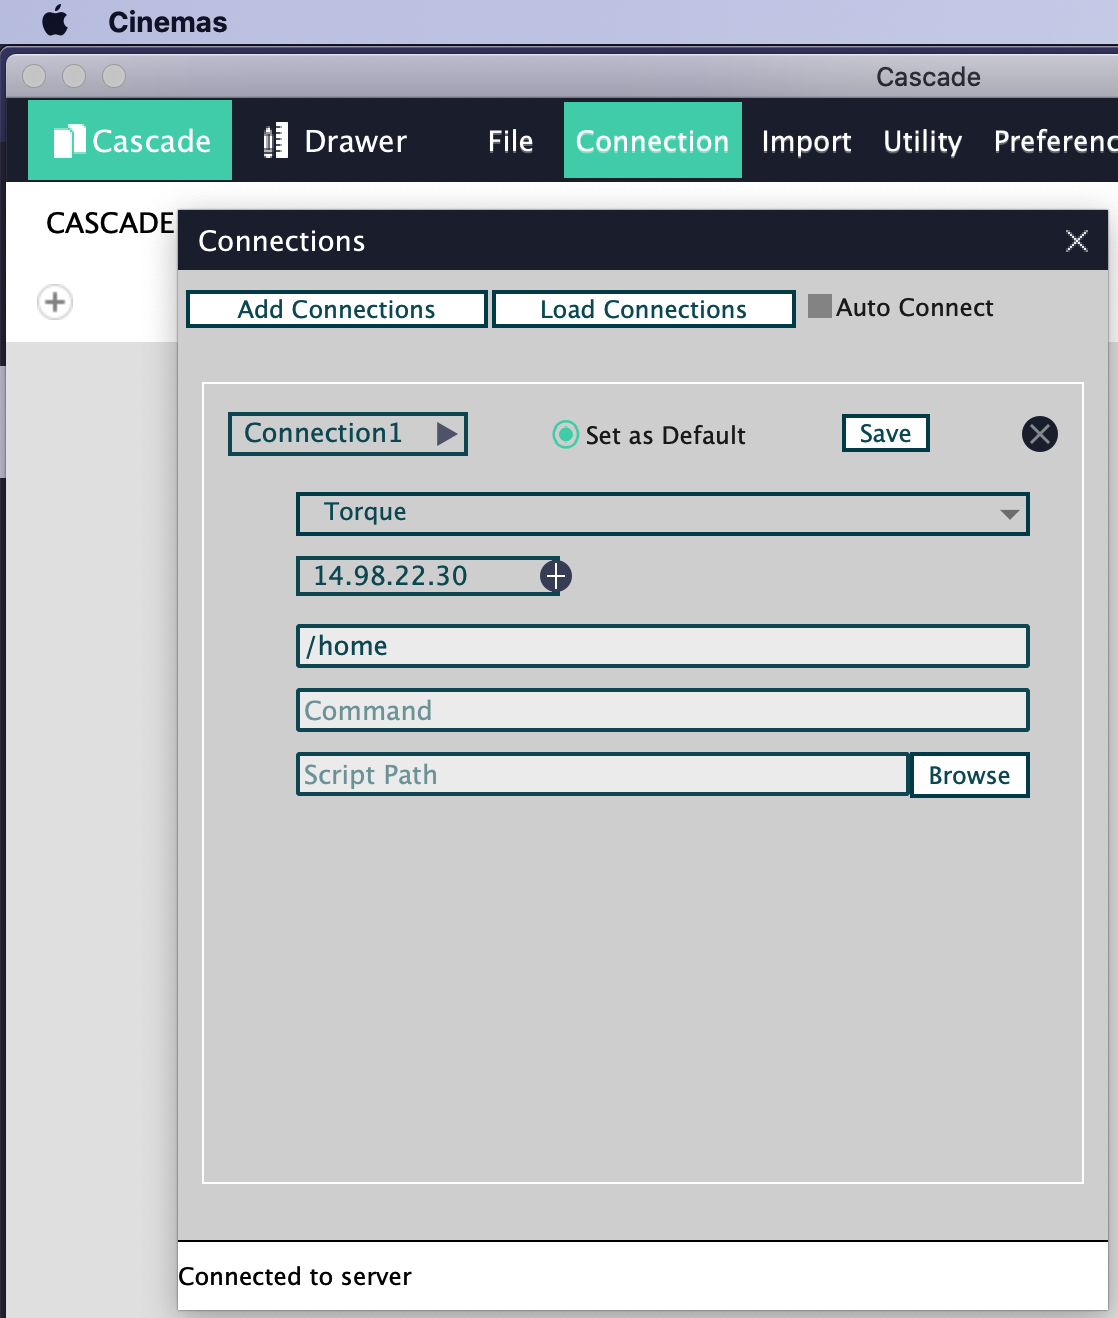
Fig. 131 Connections:.
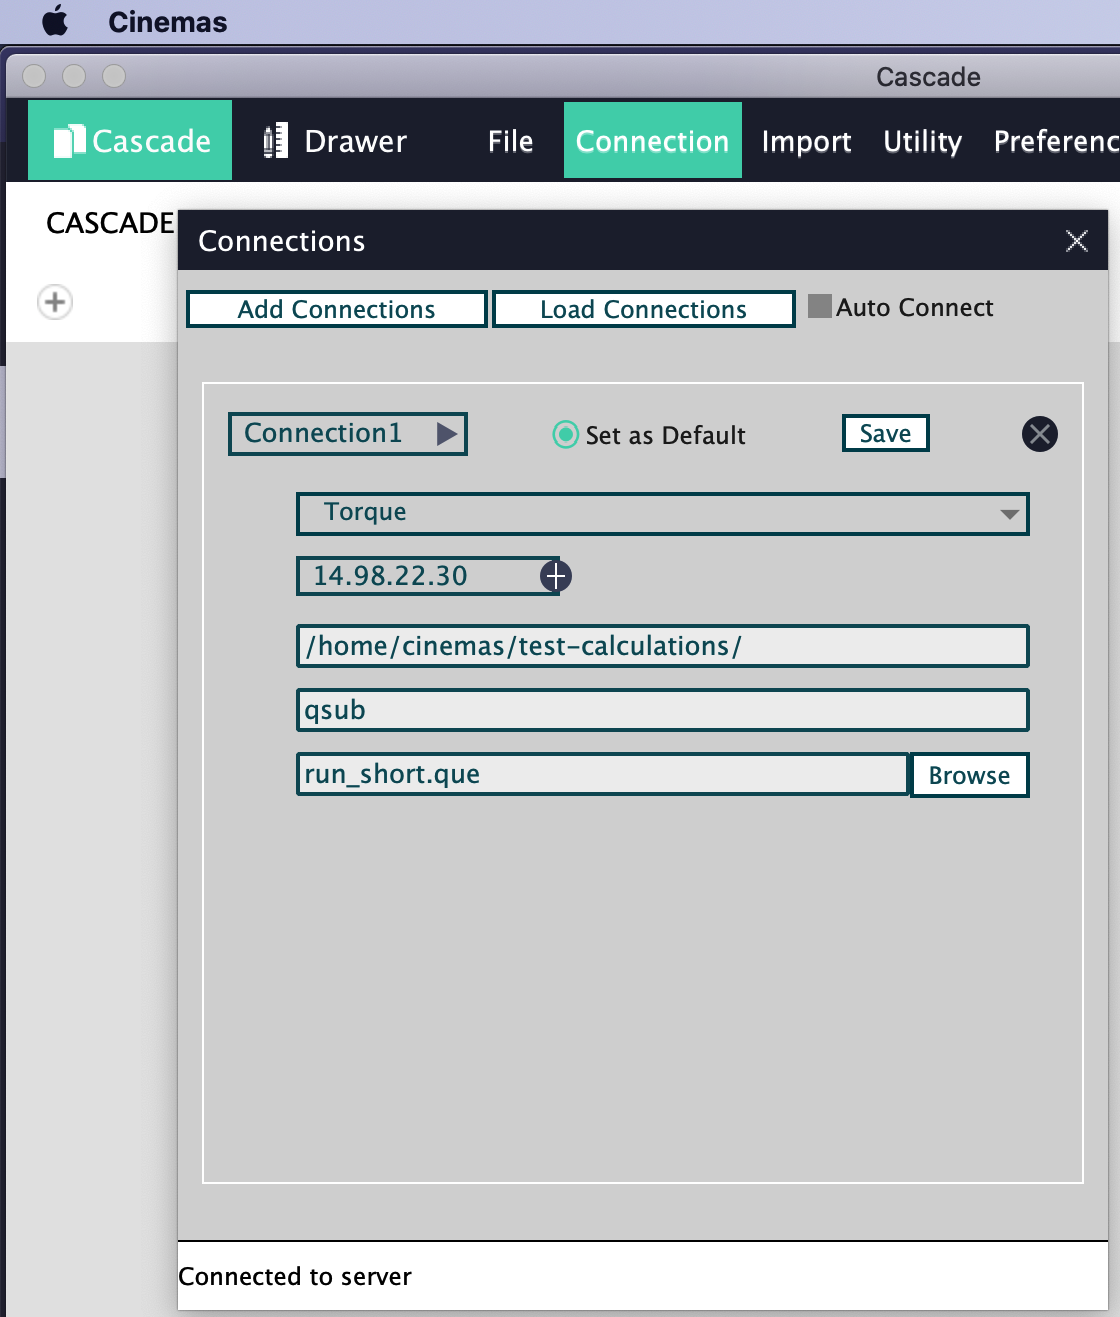
Fig. 132 Connections:.
Multi-hop connections: At times, for various reasons(security primarily) connection to a remote compute-server is established through gateway-server(s).
By clicking
 button next to IP address of an established connection, one more server field appears(Fig. 133).
As explained in previous steps, by providing IP, and user-credentials another connection can be established hopping through the previous connection(Fig. 134).
Fig. 135 is a scenario of a connection to remote compute-server established by hopping through two gateways.
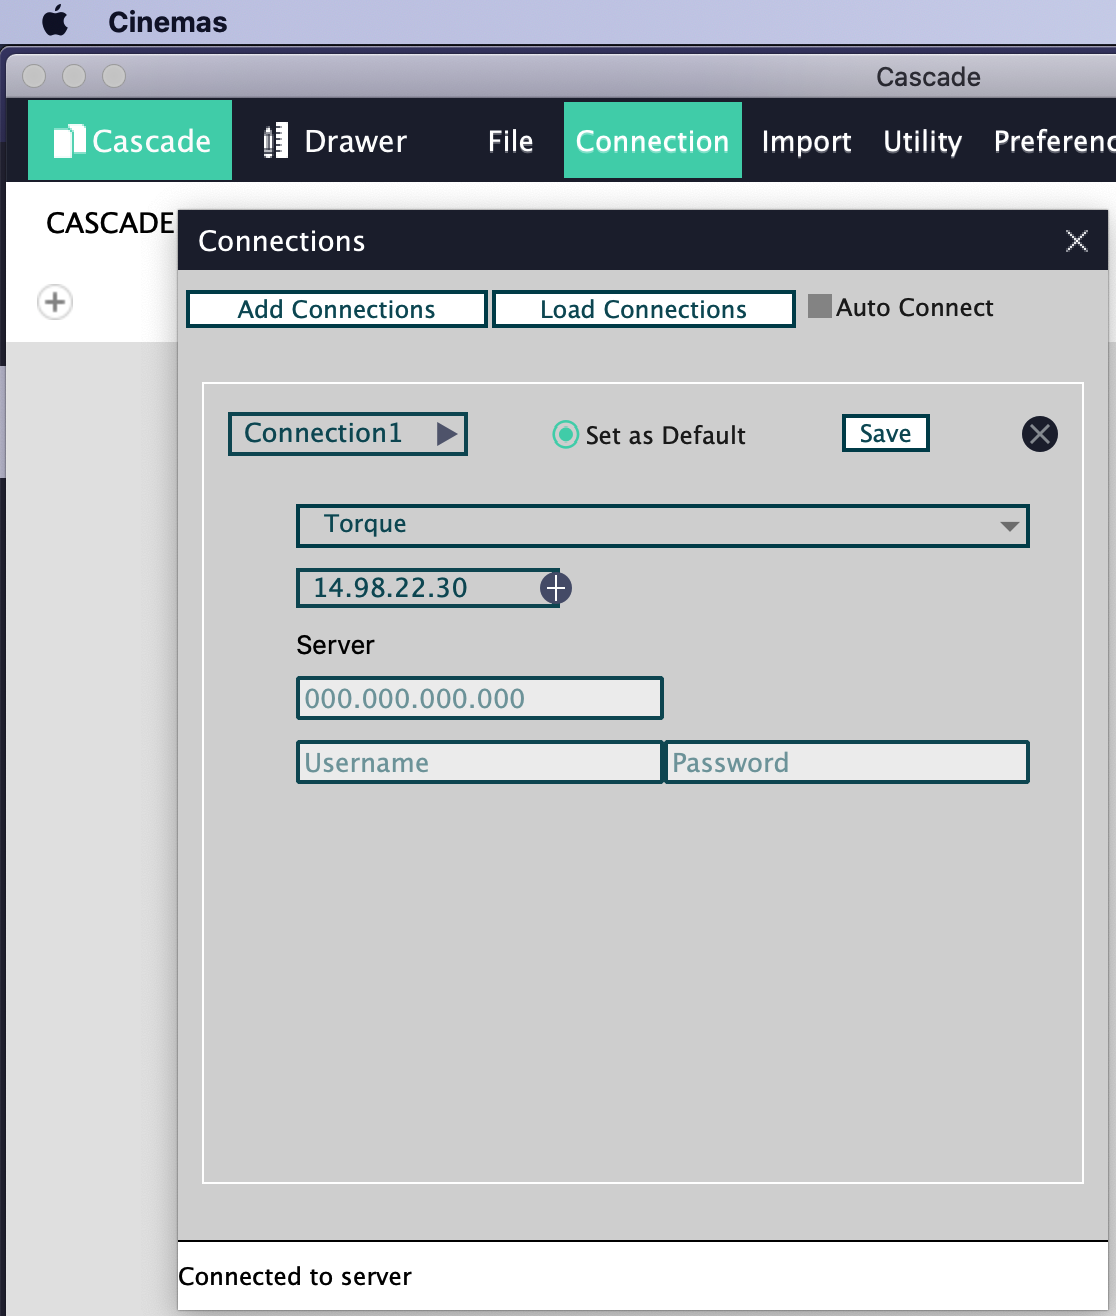
Fig. 133 Connections:.
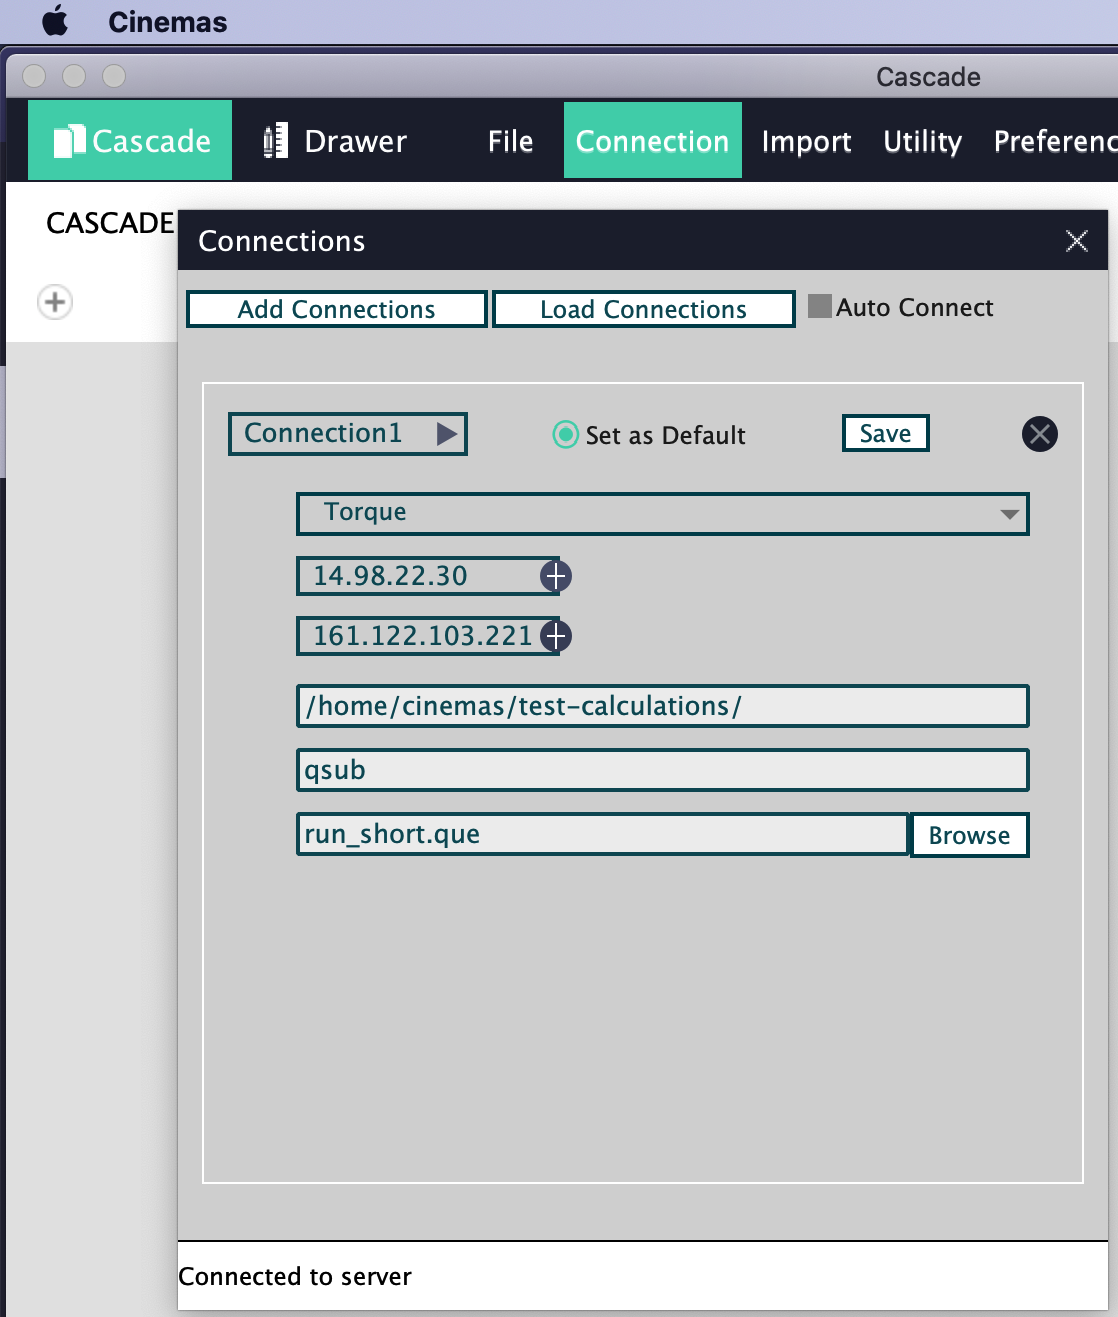
Fig. 134 Connections:.
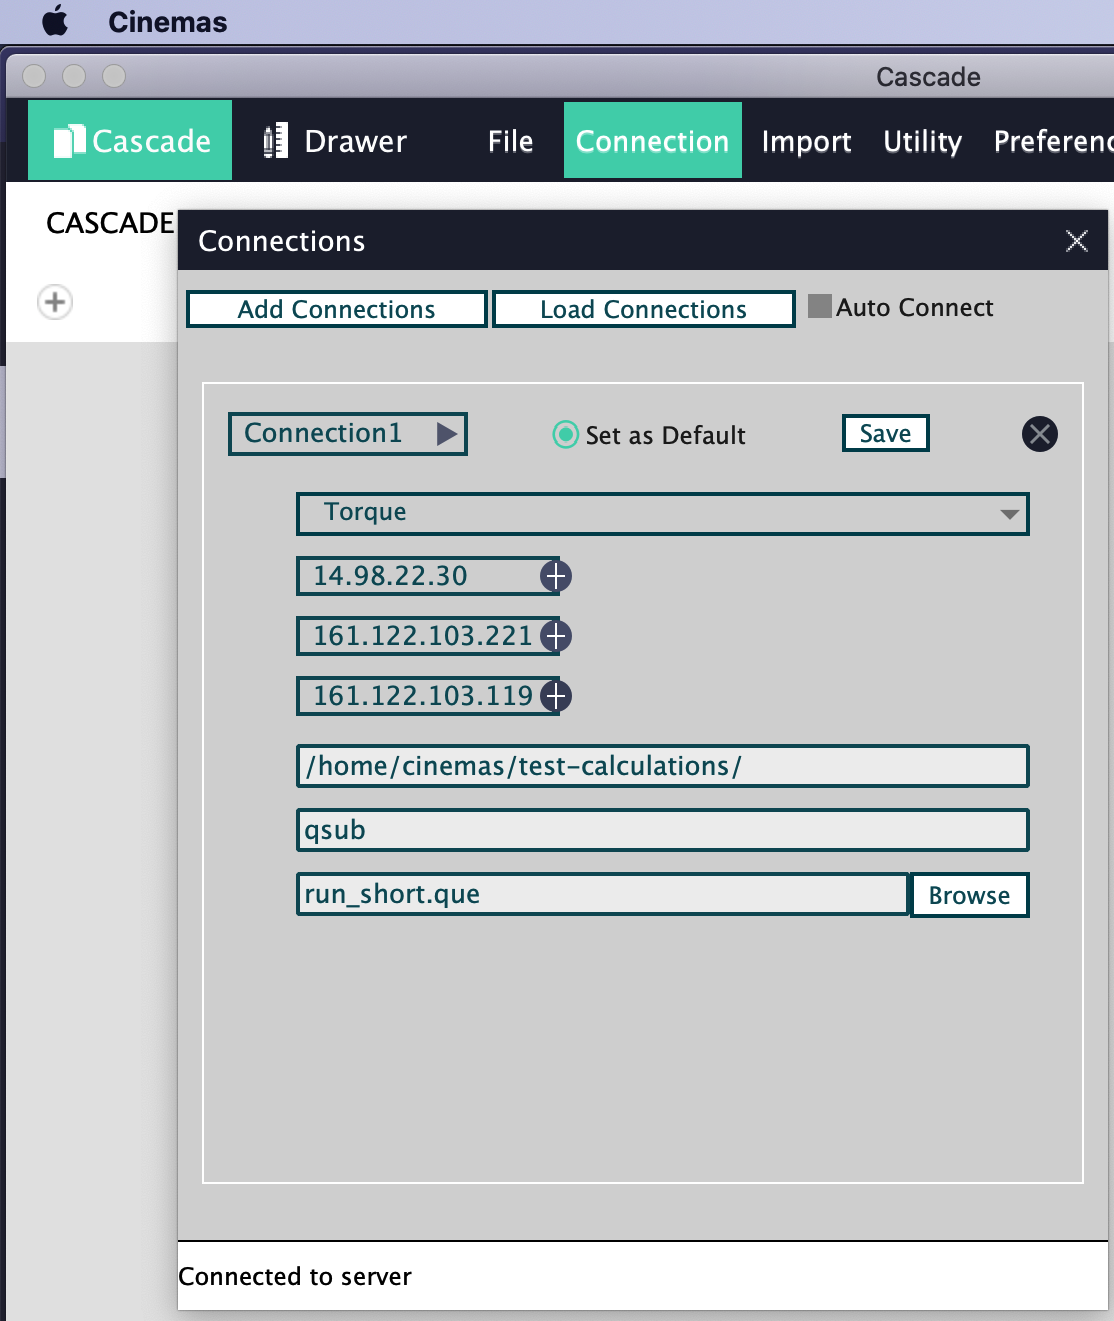
Fig. 135 Connections:.
Load connections:
If saved earlier, connection can be established by loading the details.
This can be done manually(Fig. 136) by clicking Load connection button, or automatically if auto connect was checked.
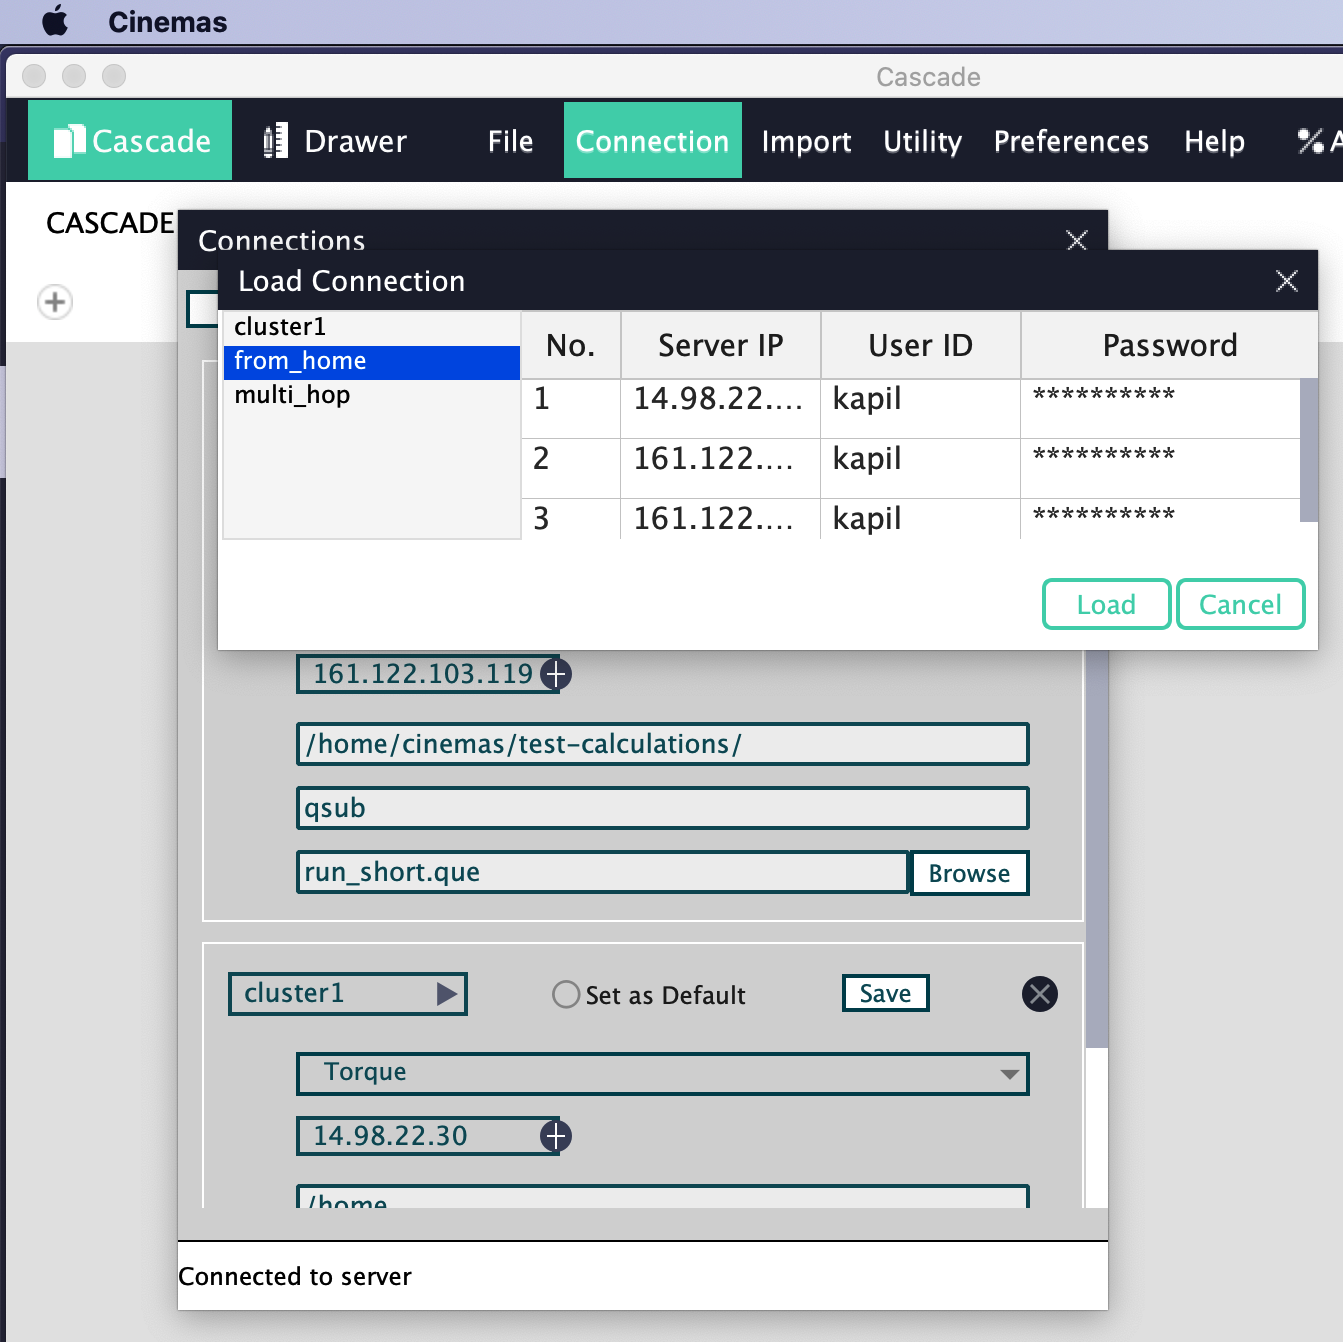
Fig. 136 Connections:.
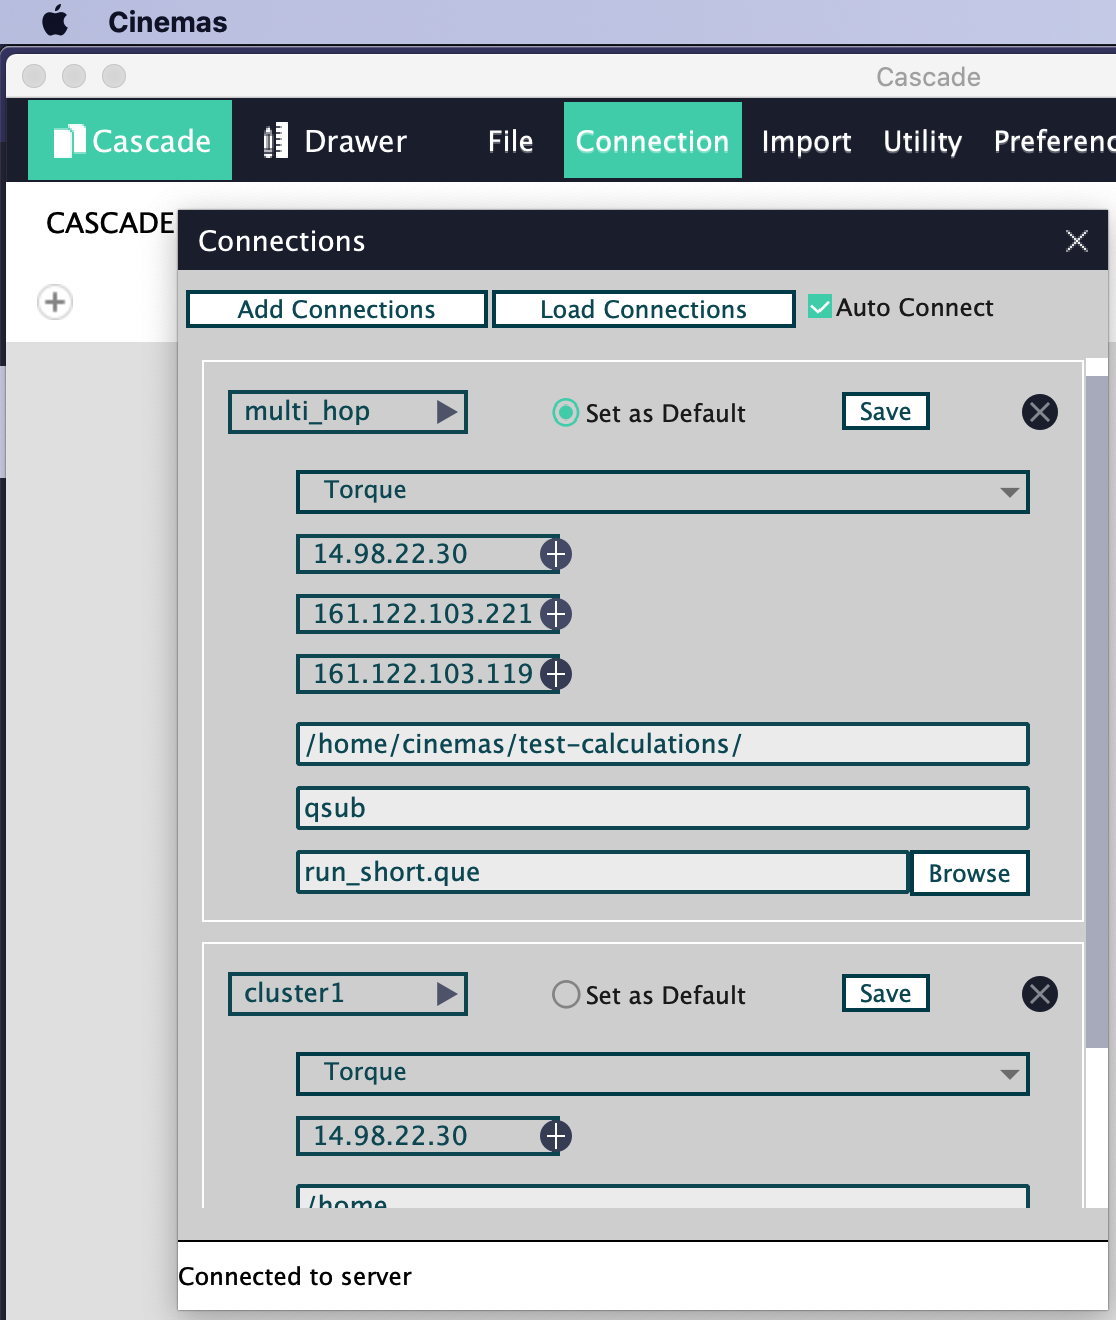
Fig. 137 Connections:.
Fig. 137 shows two connections established.
Any number of connections can be established between local machine and multiple remote servers.
A calculation can be readily submitted to a choice of compute-server. See Fig. 138.

Fig. 138 Connections:.