Installing CINEMAS
Installer
Installing CINEMAS is quick and easy. Below is a step-by-step guide to install CINEMAS on Windows/Linux box. Mac version will be release soon.
Snapshots below are from Ubuntu(Linux), but look and feel of CINEMAS installer and the application is same across the OSs.
CINEMAS installer can be launched either by double-click or from command-line.
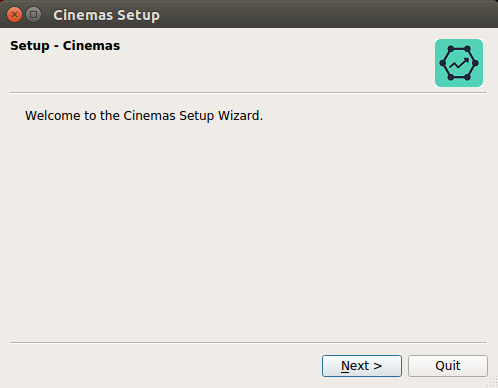
Fig. 100 Installation Step-1:Launch CINEMAS installer.
Select a location of your choice to install CINEMAS.
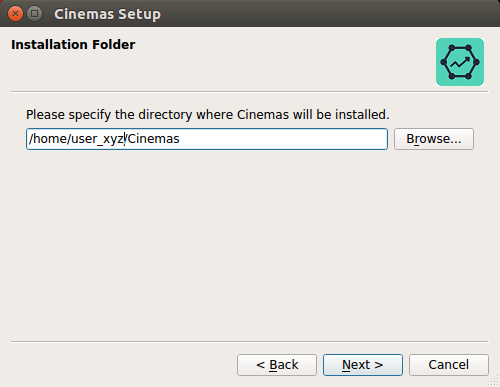
Fig. 101 Installation Step-2: Browse to the location of CINEMAS installation.
Next, users can choose components to be installed(at the moment complete package).
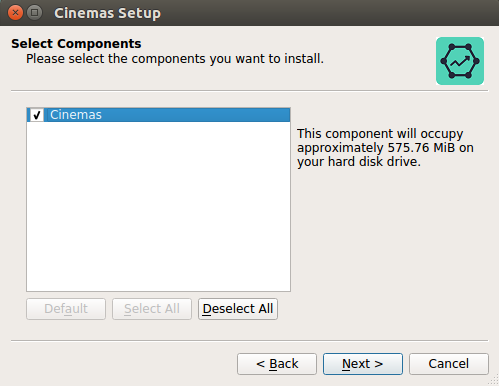
Fig. 102 Installation Step-3: Select components to be installed.
Read and accept terms and conditions of CINEMAS license.
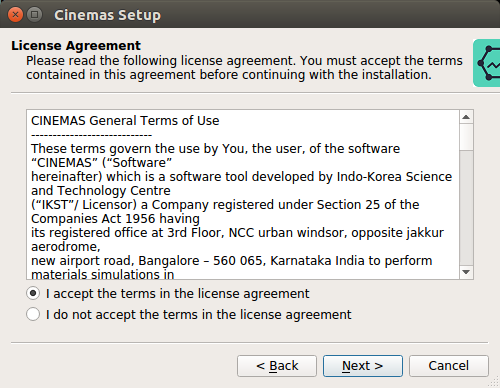
Fig. 103 Installation Step-4: Read and accept CINEMAS license.
Installer will indicate the size, CINEMAS is going to occupy on your disk.
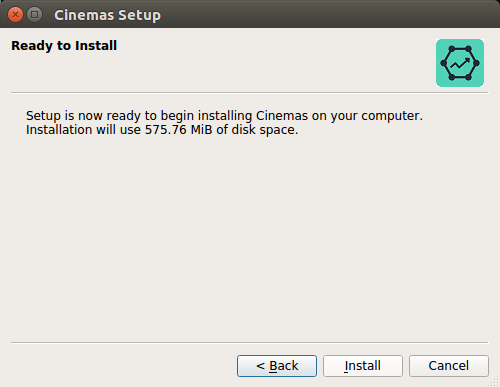
Fig. 104 Installation Step-5: Required disk size indication.
User has to provide administrator password on Linux, while on Windows ‘Yes’ has to be selected when prompted.
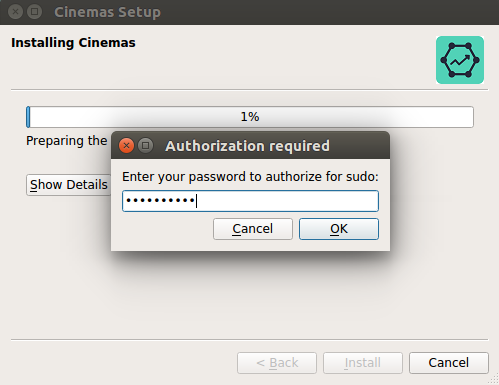
Fig. 105 Installation Step-6: Provide the root password for the machine.
Installer will display completion of installation, if no errors are encountered.
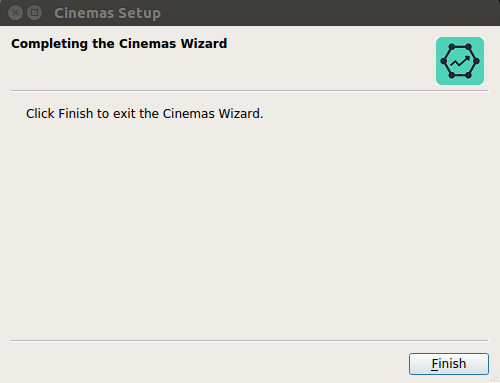
Fig. 106 Installation Step-7: Installation completed.
CINEMAS is installed on your machine.
Potential-files configuration
In order to user CINEMAS for VASP, unzipped folders for each element containing pseudopotential(POTCAR) files(require VASP license) need to be configured within CINEMAS.
Step-1: As show in the figure Fig. 107 Browse the folder (PBE/LDA/PW91) with subfolders for each of the elements containing POTCAR files. This is standard folder structure for VASP potential files.
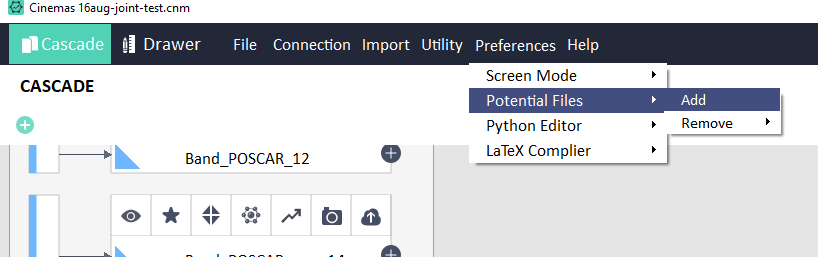
Fig. 107 Configure VASP potential files: Step-1.
Step-2: Once a folder is added, Remove menu is enabled, with submenu as the name of the folder added. See Fig. 108

Fig. 108 Configure VASP potential files: Step-2.